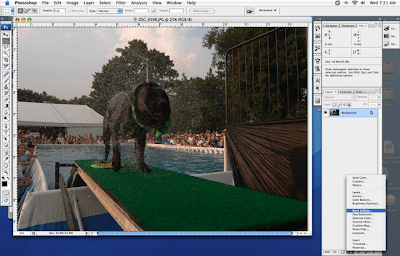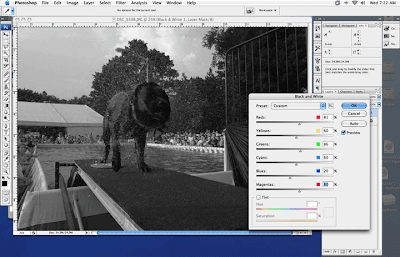

Finally got around to upgrading to Adobe Photoshop CS3. Discovered a really great new adjustment layer called Black and White. Applying the default settings to a color RGB files get you 90% of the way to a richly toned B+W image. Use the sliders to get the last 10%. The red slider lightens or darkens human skin and faces. In the image I’m showing here from last year’s fair, I moved the green slider to lighten the carpet under the dog’s feet as well as the trees in the distance. I lightened the audience faces by moving the red slider from the default 40% to 81% lightness. If you’re using the image for print purposes, you can flatten and convert your file to grayscale and still maintain good tonality.

No comments:
Post a Comment